Radiant Barrier 24″ Installation in North Carolina | InfraStop®

Picture 10: Finished picture showing gable, eaves, and corner of left side of attic.

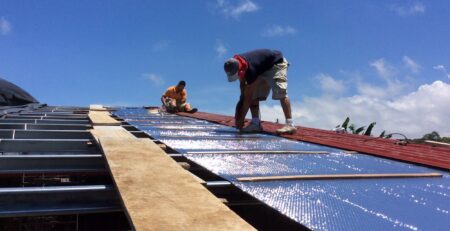
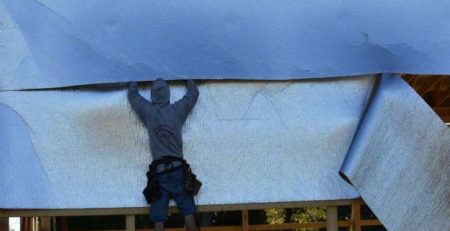
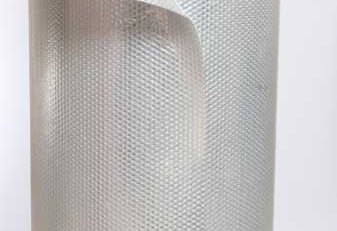
This customer was interested in increasing his energy efficiency in his truss built attic in Newport, North Carolina. He choose InfraStop® IS for the 24″ width which made it easy to install the insulation from the ridge to the eaves while going truss to truss. As you look at the pictures you will also notice HVAC duct lines running in the attic. This is very commonplace in certain areas of the country that are not prone to freezing temperatures. Notice the reflective duct wrap on the lines as this is definitely qualifies as an unconditioned attic space.

The customer also upgraded and used spray foam insulation on the attic floor to replace the few inches of blown in fiberglass that was there from years before. The new attic, properly insulated with both a conductive/convective heat stopping spray foam insulation is certainly much more efficient and will make the home more comfortable in both the heating and cooling seasons. Read more details on the temperature change noticed by the customer by clicking on the picture to see all the pictures pertaining to this project.

Picture 1: Customer installed thermostat in attic to measure temperature prior to and after installation.
Picture 2: A look at a completed area on the left side. You can see the spray foam insulation in the floor as well as the HVAC branch line wrapped in reflective insulation.
Picture 3: A look at completed area on the right side of attic. The uninsulated ventilation line is from an exhaust fan either from the kitchen or bathroom area.
Picture 4: Showing finished left corner of attic with unfinished gable.
Picture 5: You can see the radiant barriers sections have been precut for length and the installation was started from the ridge line working downward.
Picture 6: Installation continued. You can see the 24″ wide material clearly being used in this picture.
Picture 7: Installation continued further down attic. It is clear to see how the 24″ material can make it easier to install depending on your attic configuration.
Picture 8: Left side of attic complete.
Picture 9: Plywood down allowing customer to walk. Gable insulated. Radiant barrier attic project complete.
Picture 10: Finished picture showing gable, eaves, and corner of left side of attic.

Share this post

Leave a Reply

Your email address will not be published. Required fields are marked *


Wishlist 0
Continue Shopping