Foil Insulation Art Bags for Artwork Packaging | InfraStop®
Who knew? Well, actually we did know, but never knew exactly how our customers used InfraStop® bubble foil to wrap and for packaging artwork. It’s a perfect fit really of construction grade bubble foil insulation doubling as a packaging material.
A special thanks to our customer K.C in New York City. We had an opportunity to speak with K.C and she explained how she uses InfraStop® for wrapping artwork. Most importantly for this post, she explained the actual process she uses to make the art bags. She even put together a great instruction sheet that we are giving to you with her permission. Thank you so much K.C!
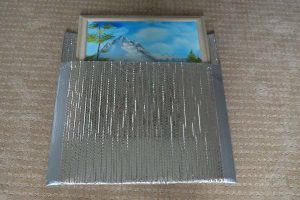
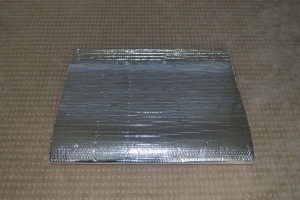
Artists that travel to and exhibit in art shows are constantly wrapping and unwrapping their art work. They need a bag or pouch that is sized to the specific art piece that is not too thin or too bulky and is reusable. InfraStop® foil insulation is an excellent product for this application. It’s flexible, easy to cut, and rugged to stand up to repeated use. The InfraStop® art bag is also reflective so it will block the transfer of radiant heat. This helps protect the contents. Just think of reflective packaging material. InfraStop® can also be used for insulating artwork as well.
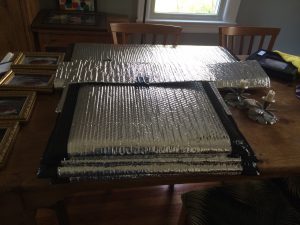
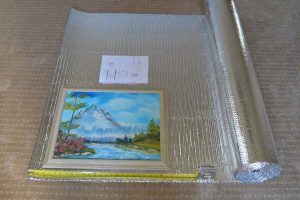
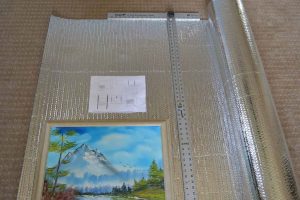
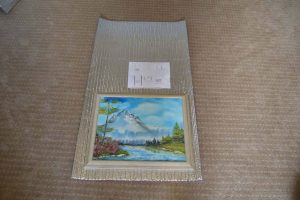
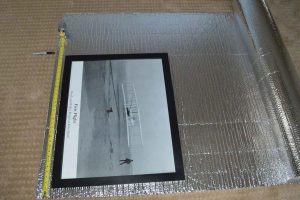
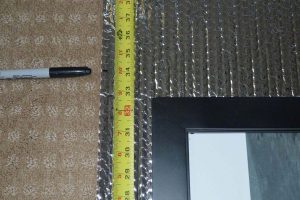
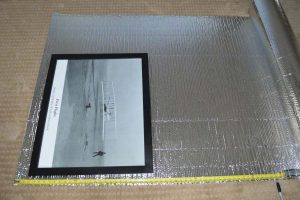
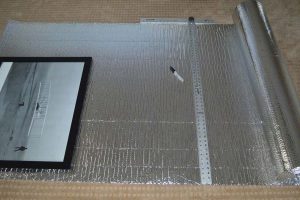
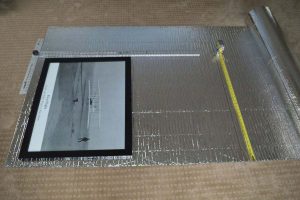
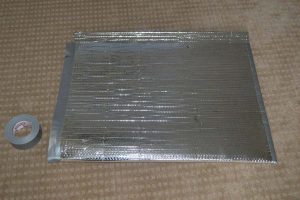
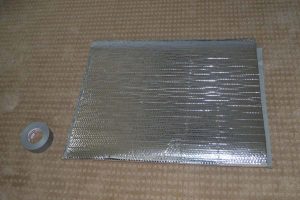
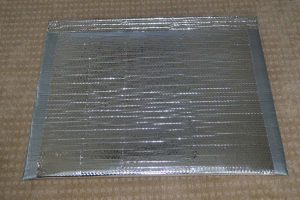
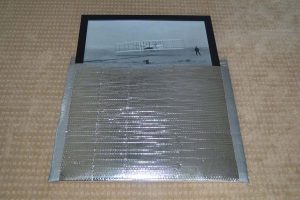
The above pictures are the one K.C sent of her art bags as well as the instruction sheet she put together. We told her we wanted to build the bags too. The following photo gallery is our step by step construction using her easy to use instructions for two art bags used for wrapping artwork.
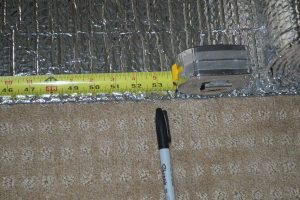
Measurements are from outside of frame to outside of frame. The first painting measures, 23 inches wide by 19 inches tall, close to the sample in K. C’s instruction sheet. The second picture measures 31 inches wide by 22 inches tall. We hope you enjoy the post. We had a fun time making the InfraStop® art bag.


Leave a Reply